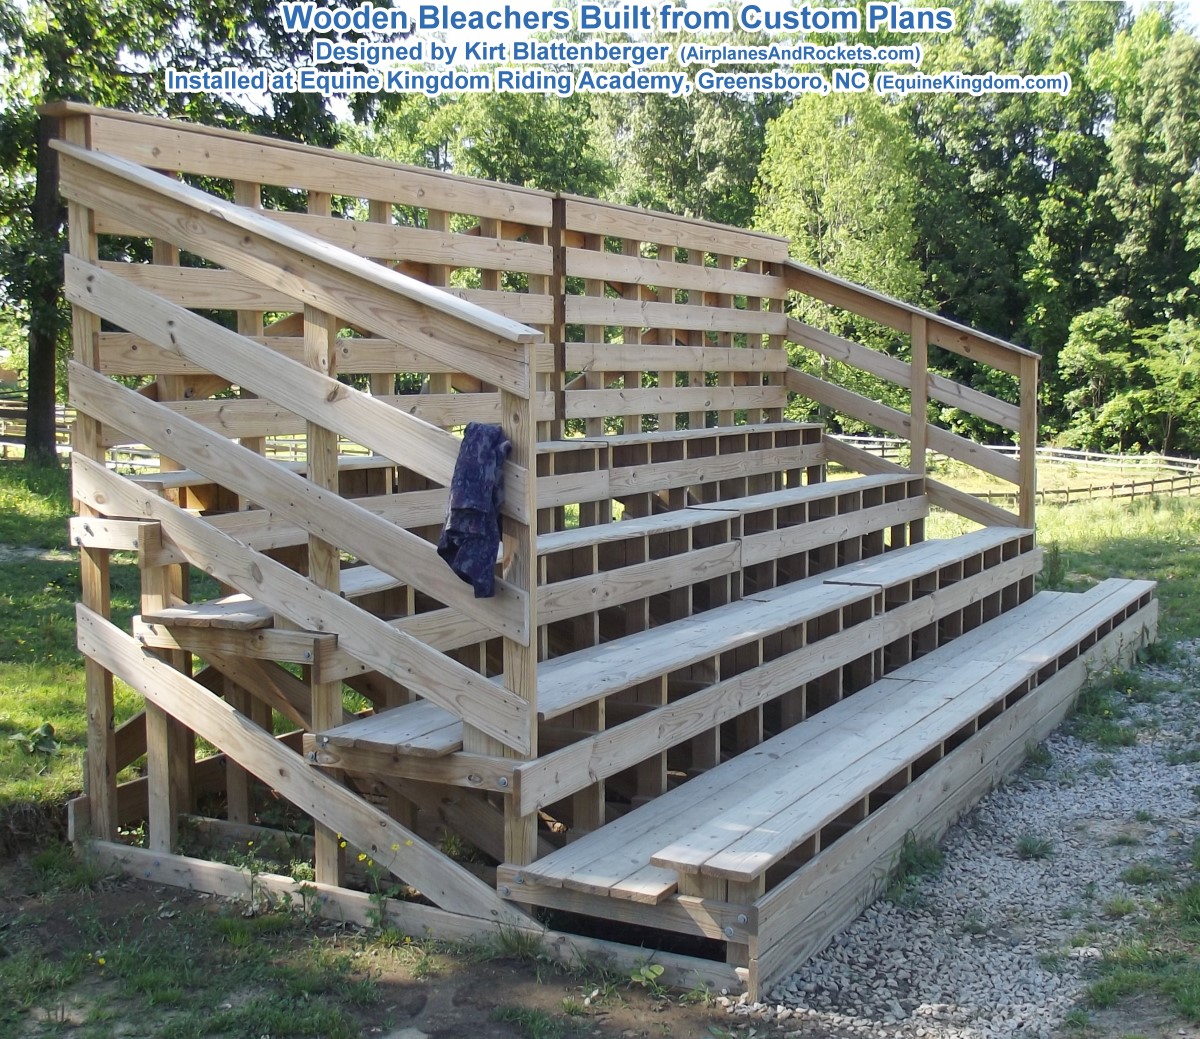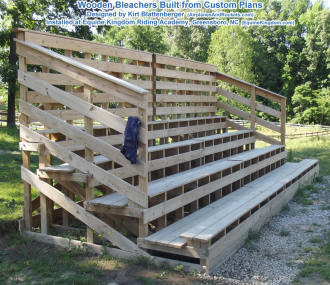
This is a photo of the completed wooden bleachers (2 sections,
joined). A high-resolution PDF
wooden bleachers
plans file is available at no charge (see below), compliments of Equine
Kingdom Riding Academy and the Airplanes and Rockets website. If you find these
plans useful (they took many hours to draw), please send a note of thanks to Equine
Kingdom.
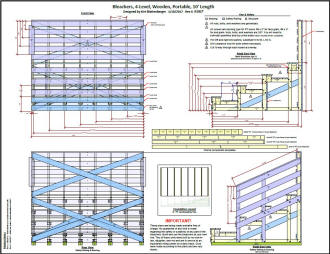
Click here for high-resolution
Wooden Bleachers Plans
PDF file.
Note: I
*do not* have a detailed list of materials available.

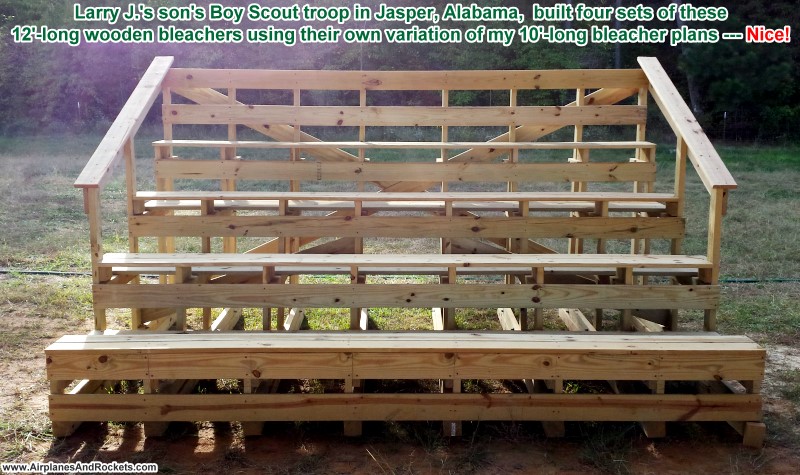
Larry J.'s son's
Boy Scout Troop 117 in Jasper,
AL, built four sets of these 12'-long wooden bleachers using their own modified
version of my plans (see below). They will be used
in a equine therapy program. The project helped
to earn an Eagle Scout badge. Boy Scouts are an increasingly rare source of good
works and high moral standards. Congratulations!
See update.
My daughter, Sally, owns(ed) and operate(d) the
Equine Kingdom Riding Academy on their
farm in Greensboro, North Carolina. In two years she transformed a run-down
property with a couple dilapidated buildings into a thriving horse riding school.
Lots of hard work, re-use of existing materials, buying used parts on Craig's List,
and bartering has kept expenses to where they were able to pay cash for everything
except the house and property itself. Sally has been interested in horses since
she was about 8 years old and she has a degree in Business Administration and a
degree in Logistics. Rather than do the normal thing and work for large corporations,
she have opted to start and build their own business.
Since Melanie and I live way up north in Erie, Pennsylvania, we try to do a major
project when we visit. This time, the project was building bleachers that can be
used during the in-house riding events that are held every few months. My degree
is in engineering (electrical), but I've been a lifelong designer and builder of
models as well as residential structures, so I took on the task of designing plans.
I could not find anything close to what I was looking for on the Web - at least
anything within my price range - so I fired up Visio and made my own. The two main
criteria were they needed to be sturdy so they would last forever, and they had
to be safe for all ages to use. Galvanized nuts, bolts, and washers hold all the
frame components together, and deck screws hold the planks. Pressure treated lumber
was used throughout. Safety rails are spaced closely enough they they should
(no guarantee) prevent small children from crawling through. A 10-foot length was
chosen to be a convent size for modularity. They can be arranged end-to-end and
bolted together. We chose to eliminate the hand rails at the junction to make one
bleacher 20 feet long. Pressure treated landscaping ties serve as a footer to prevent
any of the structural members from contacting the ground - essential for longevity.
Added August 19, 2023:
These plans are the latest version. I was going to write up a hardware parts
list, but never got around to it. Both sections of the bleachers shown in the photo
(built in fall of 2011) are still in service and are in excellent condition. Pressure
treated lumber was used for everything, and all the nuts, bolts, and washers are
galvanized. Screws for the planks are outdoor deck grade. Pressure treated landscaping
timbers are sitting on the ground between the soil and bleachers. My daughter sold
the property a couple years ago, so I don’t have access to it to take any other
photos.
My son-in-law and I built both sections of bleachers in one weekend. Since many
of the parts are duplicates, we cut out and drilled the first of each type, then
used them as templates for the rest. If you have half a dozen people available to
cut and drill, that will speed the process considerably. We also built up the first
seat/step frame, then built the others on top of it to assure all were identical
(using screws temporarily so the bolts didn’t get in the way). Get the first one
as perfect as possible.
Prior to erecting the entire assemblies, the ground area was leveled and the
landscaping timbers laid into position. We used long deck screws to hold them together
to prevent shifting during assembly. The completed bleachers will be as level as
the foundation. Adjustments can be made, if needed, with shims cut from the pressure
treated wood. Note that if the ground is wet/moist, the landscaping timbers will
quickly begin to bow upward as the wetter bottom expands, so get the bleacher frame
on top of them ASAP. A couple of ours bowed enough in 3-4 hours that we needed to
flip them over before setting the frames on them. That was unexpected.
Before attaching the braces on the frames, be sure to measure diagonally between
the upper left/lower right, and upper right/lower left extremities to assure equal
distance to get everything square. Do that for all the places you install braces.
My daughter had the bleachers filled to capacity many times during horse shows
and never had a problem.
Other Woodworking Tips & Projects:
Posted March 5, 2012
|